How to use Nano Banana for image generation and editing
Learn a repeatable Nano Banana workflow for creating new images, editing references, choosing aspect ratios, reviewing outputs, and saving successful work.
By CreateForge Editorial · Reviewed 2026-08-18
Independent editorial cover. The uncropped provider-verified output and its production context appear below.
Learning how to use Nano Banana starts by deciding what the model may invent and what an uploaded reference must keep recognizable in the final image. Nano Banana supports two useful starting points inside CreateForge: a new image described in text, or an existing visual supplied as a private reference. The strongest workflow begins by deciding which parts of the result should be invented and which must remain recognizable before writing the prompt or uploading files.
The model page exposes the controls connected to the production adapter and provides a protected quote for the selected request. This guide focuses on directing the model, reviewing the generated asset, and making one purposeful revision at a time rather than relying on repeated generic prompts.
Production evidence
Provider-verified output behind this guide
The displayed output comes from the documented production acceptance. Prompt pages provide reusable templates below; they do not claim that every template produced this one evidence image.
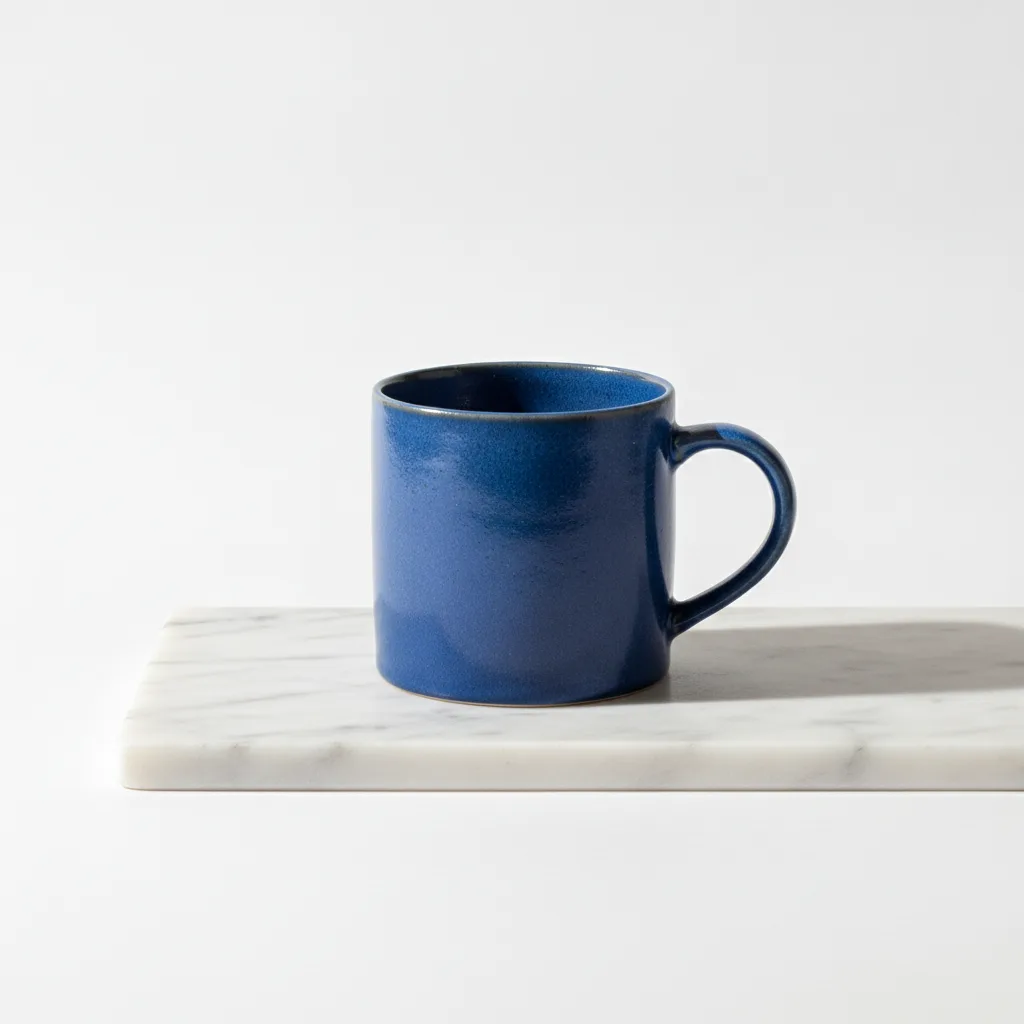
Provider-verified production output
Public brief summary: a controlled studio composition used to verify provider submission and image output handling; the complete acceptance prompt remains private.
- Verified
- 2026-08-17T07:16:16.280Z
- Settings
- text-to-image workflow · 1:1 · PNG
- Result
- Provider task succeeded with one image output during the documented production acceptance.
01
How to use Nano Banana: choose text or a reference image
Define the job in one sentence: create a product hero, restyle a room, adapt a portrait, build a social graphic, or explore a character direction. That sentence becomes the priority for every later instruction. If the request contains several deliverables, generate them separately so each composition has a clear review standard.
For a new scene, describe the subject before style. For an edit, identify the source image and say which elements must be preserved. Phrases such as keep the package silhouette, preserve the face, or retain the camera angle are more useful than asking the model to make the image similar without explaining the protected features.
02
Prepare references with distinct roles
Reference quantity is not a quality setting. A small, coherent set usually communicates identity and art direction better than many unrelated images. Remove screenshots with irrelevant interface elements, crop around the useful subject, and avoid including conflicting versions of the same product unless the prompt clearly says which version is authoritative.
CreateForge uploads references through its private authenticated flow and hands temporary provider access to the generation task. The references are inputs, not public gallery assets. Still, only upload material you have the right to process, and avoid placing confidential information in an image when it is not needed for the creative result.
- Use one reference for identity and another for style only when both roles are necessary.
- Describe every reference role explicitly instead of expecting file order to explain the brief.
- Crop distracting borders, controls, and unrelated background material before uploading.
03
Compose for the selected aspect ratio
Pick the output frame before generation. A vertical story image benefits from foreground-to-background depth, while a wide hero needs deliberate horizontal balance and space for neighboring interface or copy. Selecting a ratio changes the canvas; describing the same framing in the prompt helps the model populate that canvas intentionally.
Choose the available output format according to the next step. PNG is useful when a lossless working file matters, while JPEG is often more compact for review and delivery. The current control labels and quote on the Nano Banana model page are the source of truth because provider capabilities and prices can change after an article is published.
04
Iterate from the saved result
Review the image at full size and separate factual failures from taste. Wrong object count, lost identity, broken text, and an unusable crop are factual problems. Color mood or camera energy may be preferences. Correct the factual issue first and preserve the instructions that already worked, then make a second pass for art direction.
Successful output is registered in the private CreateForge Library after the provider task and storage step complete. Compare saved versions side by side, note the change between them, and stop when the asset meets the original requirement. More variation is not automatically more progress when the delivery decision has already been made.
05
Run controlled Nano Banana iterations
When the first image is close, freeze the successful parts in writing before changing anything. Note the approved camera angle, subject placement, background, palette, material response, and negative space. Then alter one variable, such as the surface finish or the amount of headroom. If the prompt changes composition, lighting, styling, and copy at the same time, the next output cannot show which instruction improved the result and which instruction caused a regression.
Use a simple review log for repeat work: attempt number, prompt change, selected controls, visible result, and decision. The log does not need private customer text or a long narrative. Its purpose is to reveal when repeated low-cost attempts have become more expensive than switching models or repairing an accepted image manually. A practical Nano Banana workflow optimizes for the first usable asset, not for the largest number of visually different generations.
06
Complete a final publish check
Before publishing, place the accepted image in its real layout and check the crop at desktop and mobile sizes. Confirm that important details remain visible behind headings, buttons, safe areas, and platform overlays. Recheck logos, small text, subject edges, and contrast after compression rather than approving only the large Library preview.
Keep the durable Library result as the source and make delivery derivatives from that file. Name exports by campaign, placement, ratio, and revision so reviewers do not approve an obsolete version. This final discipline is simple, but it prevents a successful generation from becoming an avoidable production or handoff error.
Live catalog data
Current CreateForge model facts
These values are rendered from the production Catalog and generator Blueprint. The protected quote shown in the model workspace remains authoritative for a specific request.
Nano Banana
- Modes
- Text to Image, Image to Image
- Resolution
- Fixed
- Aspect ratios
- Auto, 1:1, 16:9, 9:16, 3:2, 2:3, 4:5, 5:4, 3:4, 4:3, 21:9
- Duration
- Still image
- Input roles
- Reference images: up to 10
- Native audio
- No generated audio control
- Output formats
- png, jpeg
- Current minimum
- 3 CreateForge credits
- Pricing verified
- 2026-08-28
FAQ
Common questions
Can Nano Banana create a new image from text?
Yes. Choose the text-to-image workflow, describe one clear deliverable, select the output controls, review the protected quote, and submit the task.
Can Nano Banana edit reference images?
Yes. Upload private references and explain what each image controls, what must stay recognizable, and which parts the model may reinterpret.
How many Nano Banana references should I use?
Use the smallest set that clearly communicates identity, layout, or style. More references can introduce conflicts when their roles are not explicit.
Does CreateForge keep the Nano Banana result?
Eligible successful output is persisted to the authenticated user’s private Library after task reconciliation, rather than relying on a temporary provider link.
Continue in CreateForge
Move from research to the connected workflow.
Open the exact production model, review the current controls and quote, or compare the wider tool catalog before submitting a task.
Related guides
Workflow
Nano Banana image editing with private references
Use Nano Banana image editing with private references, explicit preservation rules, supported output controls, protected quotes, and a saved-result review workflow.
Pricing guide
Nano Banana Cost: pricing, free limits, and alternatives
Learn Nano Banana cost, pricing, free limits, expected credits, and how to compare alternatives before creating images on CreateForge AI.
Prompt library
Nano Banana prompts for generation and image editing
Twelve Nano Banana prompts for products, portraits, social visuals, restyling, background replacement, material edits, and reference-guided image work.