How to use GPT Image 2 in CreateForge
A production-focused walkthrough for creating and editing images with GPT Image 2, including references, resolution choices, prompt structure, quoting, and result review.
By CreateForge Editorial · Reviewed 2026-08-18
Independent editorial cover. The uncropped provider-verified output and its production context appear below.
Learning how to use GPT Image 2 starts with one clear deliverable, the right input mode, and a review checklist that separates prompt direction from technical controls. GPT Image 2 works best when the request describes a deliverable rather than a loose collection of visual adjectives. In CreateForge you can begin with text, add private reference images for an editing workflow, select the intended frame and resolution, and review the protected credit quote before a production task is submitted.
This guide covers the complete path from brief to saved result. It also explains where creative direction and interface controls have different jobs: the prompt defines what the image should communicate, while references, aspect ratio, and resolution define the source material and technical container the model receives.
Production evidence
Provider-verified output behind this guide
The displayed output comes from the documented production acceptance. Prompt pages provide reusable templates below; they do not claim that every template produced this one evidence image.
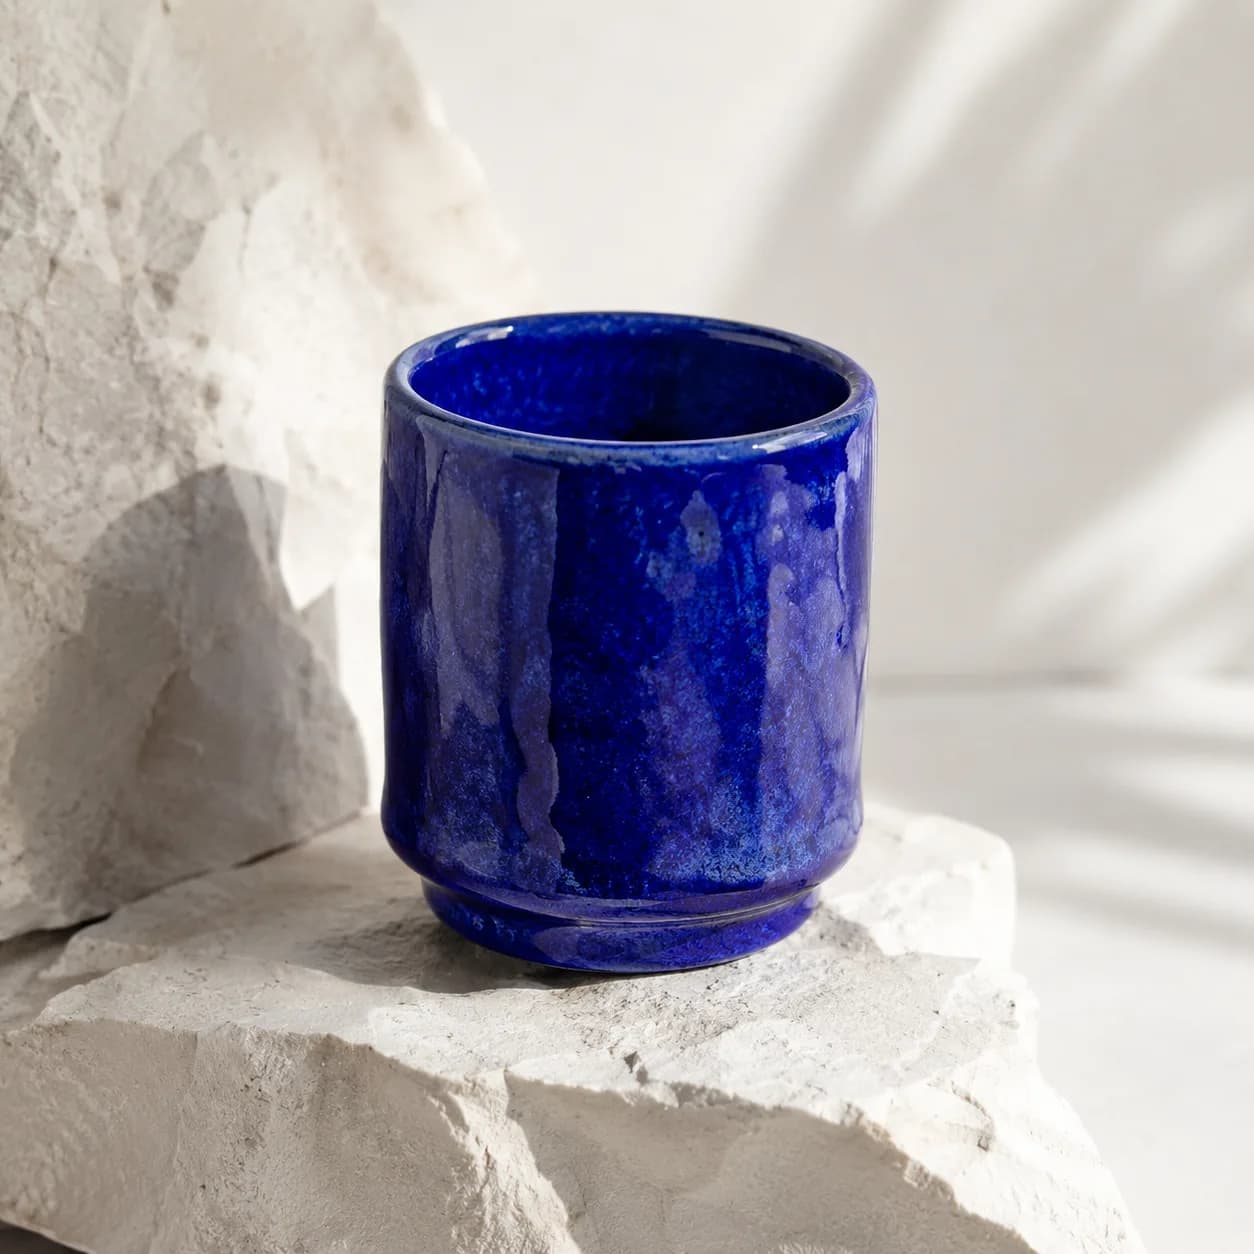
Provider-verified production output
Public brief summary: a controlled studio composition used to verify provider submission and image output handling; the complete acceptance prompt remains private.
- Verified
- 2026-08-17T07:17:08.283Z
- Settings
- text-to-image workflow · 1:1 · 1K
- Result
- Provider task succeeded with one image output during the documented production acceptance.
01
How to use GPT Image 2: choose the right workflow
Use text-to-image when the composition can be invented from a written brief. This is appropriate for concept art, editorial scenes, product mood images, and campaign directions that do not need an existing subject to remain recognizable. Start with the subject and action, then add environment, composition, light, material, color, and finish in that order.
Use image-to-image when the task begins with an existing object, layout, character, or visual language. Upload only references that have a clear purpose and state that purpose in the prompt. Tell GPT Image 2 which reference defines identity, which defines style, and what may change. Unexplained references can create conflicting instructions instead of more control.
- Text-to-image is the cleaner starting point for a new composition or visual concept.
- Reference editing is better when recognizable structure or art direction must carry forward.
- Use the fewest references needed to communicate the constraint clearly.
02
Write a prompt that behaves like a creative brief
Open with the primary subject and the action or state that matters. Follow with the camera position, framing, environment, lighting, surfaces, color relationships, and final medium. If the image must leave room for copy, describe where that negative space belongs. If text appears inside the image, provide the exact words and request a legibility check during review.
Avoid stacking contradictory styles or asking for several unrelated scenes in one image. GPT Image 2 can interpret detailed language, but detail is useful only when it establishes priority. Put non-negotiable constraints early, group related instructions, and remove adjectives that do not change a reviewer’s decision about whether the output is usable.
03
Set the frame and resolution before quoting
Choose the aspect ratio for the final placement rather than generating a generic square and hoping to crop it later. A landscape banner needs horizontal movement or distributed subjects, while a vertical placement needs a composition that survives narrow framing. Mention that composition in the prompt as well as selecting it in the control.
Resolution changes both the intended delivery and the current quote, so select it after deciding how the asset will be reviewed or published. A concept round may not need the same setting as a final campaign image. The current model facts panel on this page is read from the production Catalog; the quote in the generator remains authoritative for the exact request.
04
Review the result before changing everything
Check the result against the original acceptance list: subject identity, number of objects, spatial relationships, hands and faces where relevant, text, material behavior, and crop. If one area fails, revise that instruction while keeping successful parts stable. Replacing the whole prompt after every attempt makes it difficult to learn what the model actually misunderstood.
A successful CreateForge result is saved to the private Library after reconciliation, so use the saved asset as the comparison source. Record the prompt change that produced a material improvement. That small practice turns GPT Image 2 from a sequence of disconnected experiments into a repeatable image production workflow.
05
Review GPT Image 2 output before handoff
A provider success is the beginning of review, not automatic approval. Inspect the image at its intended display size and then at full resolution. Check spelling, small symbols, repeated objects, fingers, product geometry, reflections, edge transitions, and any area that a reference image was supposed to protect. Record one concrete defect at a time. A revision such as keep the approved composition and correct only the label alignment gives the next attempt a clearer boundary than asking for a generally better result.
For client or team work, save the accepted Library asset together with the prompt, selected resolution, source permissions, and a short approval note. Export in the format required by the downstream layout rather than repeatedly regenerating for a file conversion. This handoff record makes it possible to explain why one version was chosen, recreate the working direction later, and separate model quality from changes introduced during crop, compression, typography, or final color preparation.
Live catalog data
Current CreateForge model facts
These values are rendered from the production Catalog and generator Blueprint. The protected quote shown in the model workspace remains authoritative for a specific request.
GPT Image 2
OpenAI
- Modes
- Text to Image, Image to Image
- Resolution
- 1K, 2K, 4K
- Aspect ratios
- Auto, 1:1, 3:2, 2:3, 4:3, 3:4, 5:4, 4:5, 16:9, 9:16, 2:1, 1:2, 3:1, 1:3, 21:9, 9:21
- Duration
- Still image
- Input roles
- Reference images: up to 16
- Native audio
- No generated audio control
- Output formats
- Provider default
- Current minimum
- 3 CreateForge credits
- Pricing verified
- 2026-08-28
FAQ
Common questions
Can GPT Image 2 edit an uploaded image?
Yes. The connected CreateForge workflow supports private reference images. Explain what each reference controls and what the model is allowed to change.
Which GPT Image 2 resolution should I choose?
Choose the resolution that matches the current review or delivery stage. The protected quote reflects the selected resolution, so confirm it in the generator before submitting.
Where does a completed GPT Image 2 result go?
CreateForge reconciles the provider task and stores eligible successful output in your private Library, so the asset does not depend on a temporary provider URL.
Is GPT Image 2 the same as GPT-Image 2.0?
Users may write the model name as GPT Image 2, GPT-Image 2, or GPT-Image 2.0. CreateForge consolidates those aliases on one canonical model page.
Continue in CreateForge
Move from research to the connected workflow.
Open the exact production model, review the current controls and quote, or compare the wider tool catalog before submitting a task.
Related guides
Field guide
Best AI image model: how to choose for real creative work
Find the best AI image model for a real deliverable by comparing reference control, typography, resolution, iteration cost, repeatability, and saved results.
Prompt library
GPT Image 2 prompt examples for practical image work
Build a GPT Image 2 prompt with 12 practical examples for products, editorial images, typography, portraits, reference edits, and campaign assets.
Video guide
Hailuo AI video generator guide for MiniMax H3
Understand how the Hailuo AI video generator family maps to MiniMax H3 in CreateForge, then plan text, frame, and reference-guided video work.